For all new hosts advertising their listing on Airbnb, we at Tstays have compiled this guide to better help you navigate the do’s and don’ts of your Airbnb rental photography.
Now comes your chance to showcase your Airbnb rental’s forte and highlight its strong suits.
Potential guests and incoming traffic will be drawn to your listing’s photos above all else.
Once these photos are found alluring, then guests will proceed to dive deeper into your property’s description and amenities.
Thus, it’s imperative for hosts to keep their Airbnb photos clean, clear, and sharp.
It should also be noted that optimizing your photos in such a way will also help your listing rank higher in the search results.
But keep in mind to not go overboard with these photos.
For all new hosts advertising their listing on Airbnb, we at Tstays have compiled this guide to better help you navigate the do’s and don’ts of your Airbnb rental photography.
Airbnb’s Photo Guidelines
While discussing Airbnb’s guidelines for a listing’s photos, it’s important for hosts to note that this platform only allows a maximum of 100 photos per listing.
That being said, hosts shouldn’t feel the need to upload this excessive amount of photos if found unnecessary.
After all, quality is much more valuable than quantity in this case.
Hosts could have 70 photos of their Airbnb rental, but if they’re blurry, unclear, and altogether unappealing, these photos simply won’t draw in any potential guests.
To best ease this process, Airbnb’s help center offers all its hosts the opportunity to hire professional photographers that the platform has stationed in several locations all over the world.
This step will better aid hosts, particularly new ones, to figure out the ropes of their Airbnb listing’s photography process.
All hosts would need to do in this case, is simply head over to their Airbnb listing, check the availability of any professional photographers in their area, and once found, approve the cost estimate that said photographer will submit.
And if you’re wondering about the payment process, this photography session’s cost will be deducted from your next booking payout.
Now you might be wondering what to expect during this photoshoot.
We can help with that.
Once hosts request a professional photography session with Airbnb, they’ll be directed to several photographers in their areas – all completely vetted by Airbnb of course.
Each photographer will provide hosts with a quote and their photography portfolio, and once hosts have approved the one they find best suited for them, they’ll be sent a checklist to help them prepare their Airbnb listing for the upcoming photography session.
This checklist will be all-encompassing, from how to best display each room and its amenities to featuring all of your home’s accessibility through photos.
Once everything’s well set up on your end as hosts, the photographer will arrive to begin the process that is the photoshoot.
They might make a few minor adjustments before starting to take photos, then they’ll proceed to coordinate with you on every small detail that you’d like to feature in your listing’s photos, all whilst adhering to Airbnb’s photography guidelines, from properly setting up the scene to choosing which photography format to use.
The resulting photos will of course hold fast Airbnb’s photo requirements – a minimum resolution of 1024×683 and a 3:2 aspect ratio.
However, we ought to note that one downside of going through with Airbnb’s photographers is the unavailability of drone use to take aerial shots of the property.
This could negatively impact the listing’s attractiveness in the eye of any potential guests, as they do care quite a bit about the exterior of the house and its surroundings.
Top 12 Tips to Better Perfect Your Photos
In addition to what Airbnb already has to offer, we at Tstays have compiled this guide of the top 12 tips to aid hosts in optimizing their listing’s photos, not just on Airbnb.
Whether hosts choose to DIY their listing’s photography session or hire a professional photographer, these tips will greatly aid with whichever path you choose to take.
- Always be clean and pristine.
- Keep it simple.
- It’s all in the details.
- Use the proper equipment.
- Take photos from all angles.
- Don’t neglect the outside of the house.
- Highlight your differentiating attractions.
- Create a lifestyle with your photos.
- Showcase your neighborhood.
- Lighting, color, texture, and depth.
- Adhere to the golden ratio if possible.
- Categorize your photos.
Your home should be clean and pristine.
It goes without saying that cleaning and decluttering your home before a photography session is of the utmost importance.
As an Airbnb host, your house needs to be completely spotless, so even the most OCD guests don’t find anything amiss or out of place.
Pay heed to arrange your furniture and appliances in the best manner possible, all whilst creating the optimal home layout in your Airbnb’s photos.
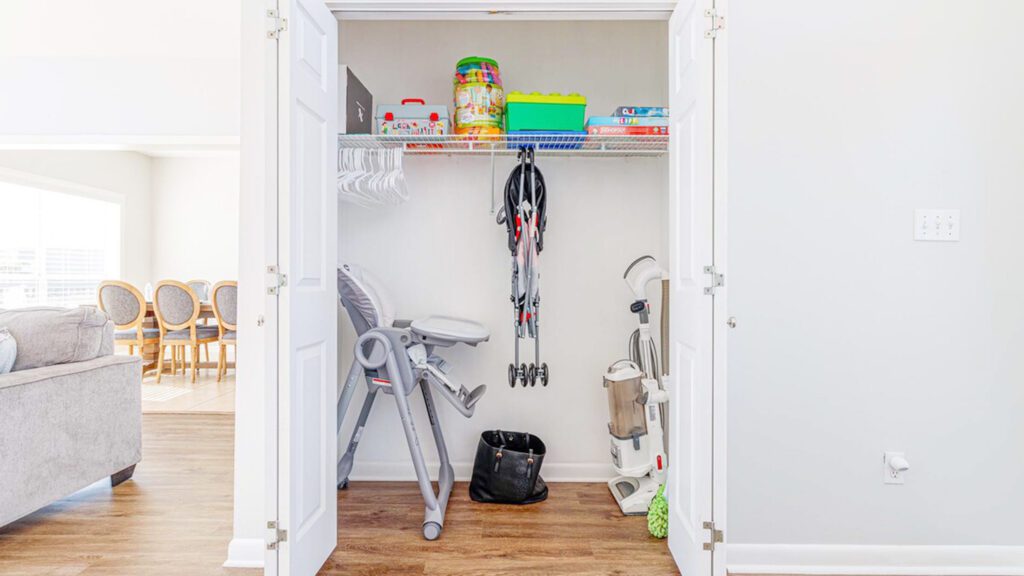
Also make sure to properly pack everything that needs to be put away in its rightful place, ranging from the dishes and cups in the kitchen cupboards to any extra sheets and blankets in their respective closets.
Such decluttering in photos will make a host’s Airbnb seem larger due to its tidiness and cleanliness.
Hosts should also inspect each room to make sure everything is utterly spotless, from the kitchen’s countertops and shelves to all bathroom details.
Keep it simple
Simplicity is key.
Don’t go overboard with your Airbnb’s photos. There’s absolutely no need to overcomplicate them.
Many hosts fall into the trap of over decorating their house’s rooms when scheduling a photography session.
An easy way to avoid this faux pas is to always remember that “simplicity is key”.
While we completely understand a host’s need to show off all that their home has to offer, they shouldn’t feel pressured to shove everything in a few photos.
Segment said photos in a way where guests will find it clear and concise to locate things while perusing through them.
Now, as to how to best achieve this simplicity in your photos, we could offer you a few tips from our personal experience with our own homes.
Let’s take the kitchen for instance.
Instead of taking only one photo of this area that encompasses all amenities offered at once, you could categorize them, starting first with the overall layout, then moving to the appliances present, the coffee station, the isle bar, etc.
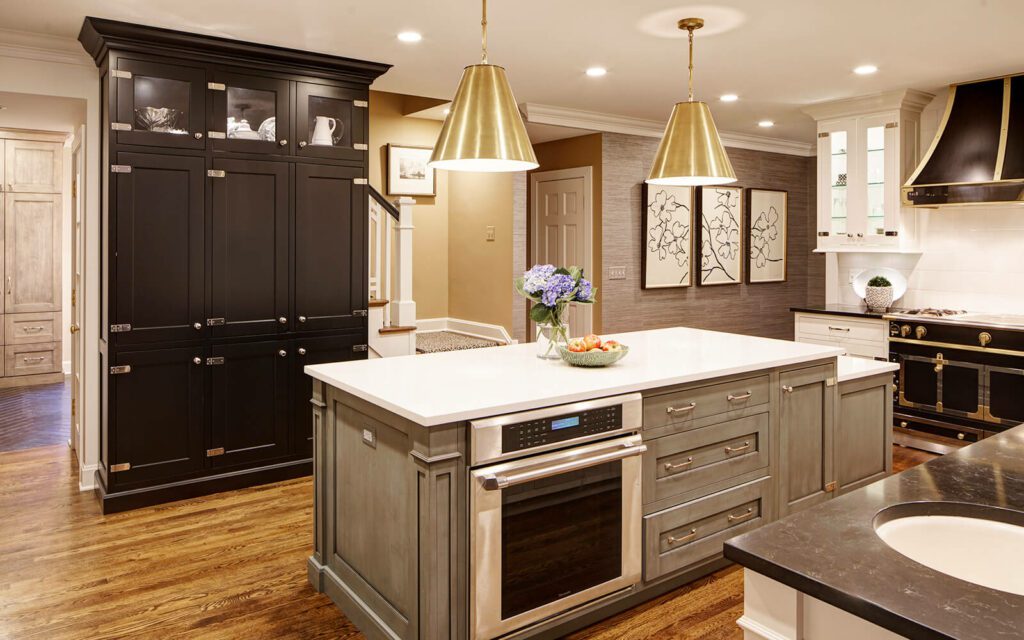
In each photo – aside from the general layout one, zero in on the object of attention while trying to place said object against a neutral clear backdrop.
This will help compliment the photographed subject and bring immediate attention to it.
Adhering to the standard “rule of thirds” will go a long way in upgrading the quality of your photos.
It’s all in the details
The devil is in the details, after all.
Hosts may not believe this, but one wrong or misleading aspect of a photo can cause quite a ruckus with some guests.
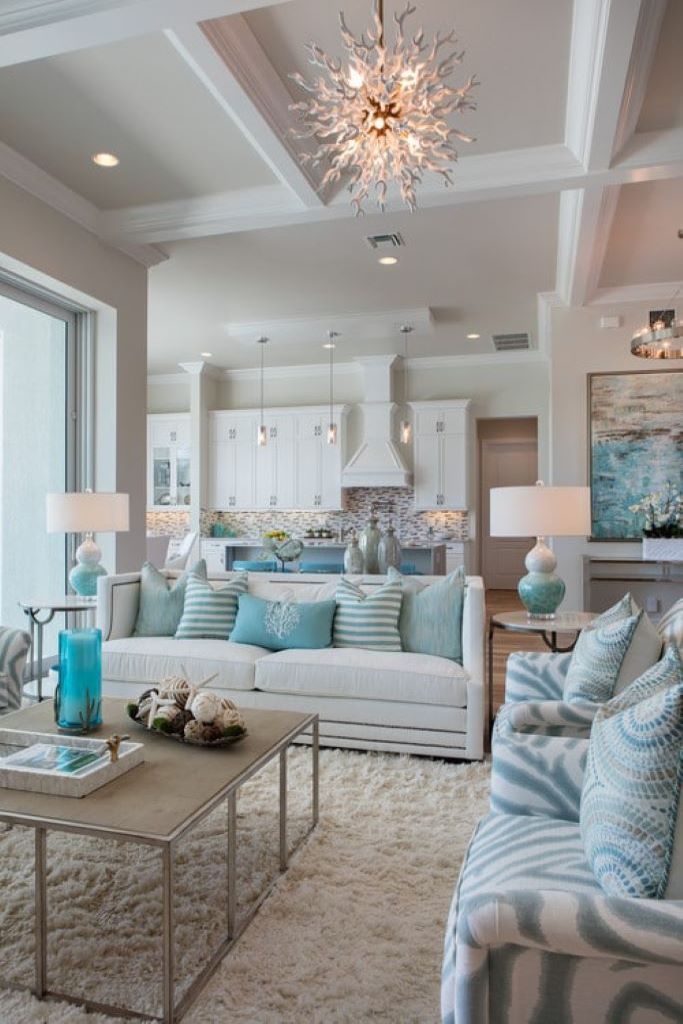
So pay close attention to everything that your Airbnb photos let on, and avoid any nuances, as this has the potential to make or break your home’s appeal.
These details will ensure cohesiveness and harmony for anyone looking at your Airbnb listings, and this will immediately reflect on you as a host.
An additional thing to take note of is a photo’s size, pixilation, and resolution. Airbnb’s recommended image size is a bare minimum of 1024×683.
As per OwnerRez – our vacation rental management platform – the ideal property photo’s size should be at least 3840×2160 (UHD).
Might as well go with the bigger and clearer size – no loss there.
Use the proper equipment
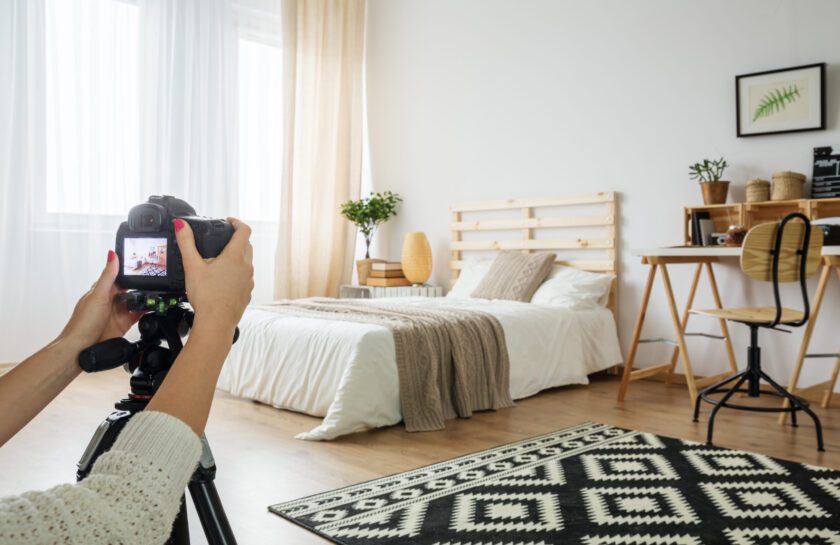
The use of proper photography equipment will go a long way in better optimizing your Airbnb’s photos.
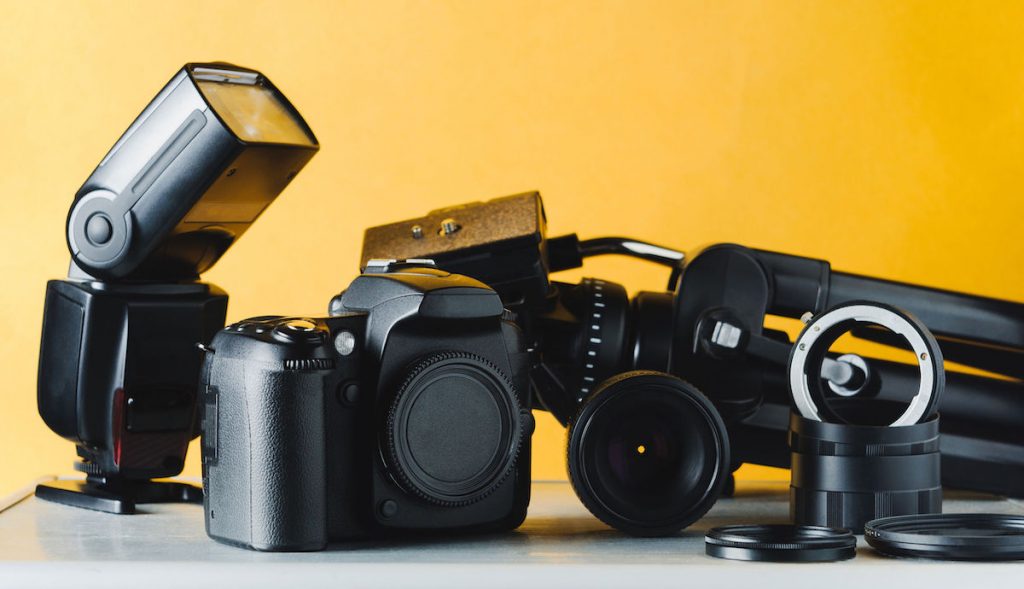
When taking photos of their property, hosts might think that they can forgo the use of professional cameras or equipment, and simply opt for their phones.
While that could be theoretically possible, let’s be honest, the best phone camera couldn’t match the lens of a proper digital one.
We advise you as hosts to consider the following paths.
You could either hire a professional photographer, or you could DIY your own photoshoot.
Either way, your Airbnb rental will have to be staged in accordance with the photography session, and proper equipment needs to be utilized to get the best and clearest outcome with your photos.
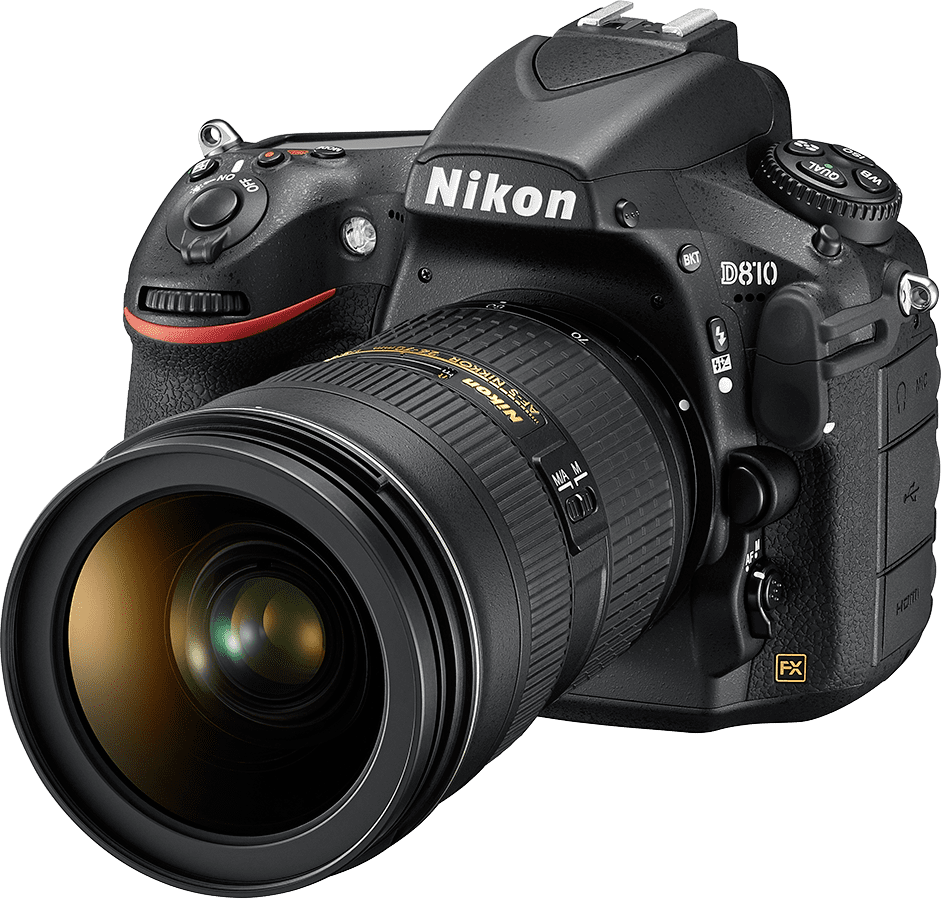
Consider using a digital camera with adjustable settings – no need to go for the expensive Nikon D810, a simple Canon G10 will do the trick – along with a tripod to better balance said camera, to best capture the clearest and crisp photos and to maximize on your camera’s depth of field capability, which will define the area’s sharp focus.
Not to mention that using a tripod can be very efficient, particularly if your camera of choice has a slow shutter speed.
But if you want to forgo the use of a tripod altogether when taking photos, we’d recommend using a monopod, as it can achieve a level of stability quite like that of a tripod, while having a more practical use.
And let’s not forget your chosen camera’s shutter speed.
This would mainly refer to the small camera flap at the front of the sensor, and its speed is usually measured in seconds (i.e. 0.01 seconds) aka exposure time.
It’s due to this specific time measurement that even the tiniest shake in your camera can ruin the sharpness of the photos.
Hosts should note that the shutter speed plays a crucial role in any creative effects they may want to add.
And don’t forget to optimize your photos’ clarity by emphasizing the location’s lighting – you could rely simply on natural lighting, or you could opt for additional lighting and such.
And of course, don’t shy away from programs such as Photoshop to better enhance your resulting photos.
Take photos from all angles
Don’t just stick to one angle when shooting your home, or even a specific room in it.
After all, the purpose of these photos is not just to attract potential guests, but also to help create a map that will assist in guiding them throughout the home’s layout.
You could start by taking pictures of the exterior via aerial views may be, then move on to the residence’s entrance, living room, kitchen, dining room, bedroom, etc.
Through implementing such a process, you could create a virtual tour of your home while highlighting all its accessibilities.
To better explain the reason behind taking photos from several angles, let’s take the living room for example.
You’re gonna want to showcase its placement in the house, not just what it has to offer, hence highlighting its accessibility.
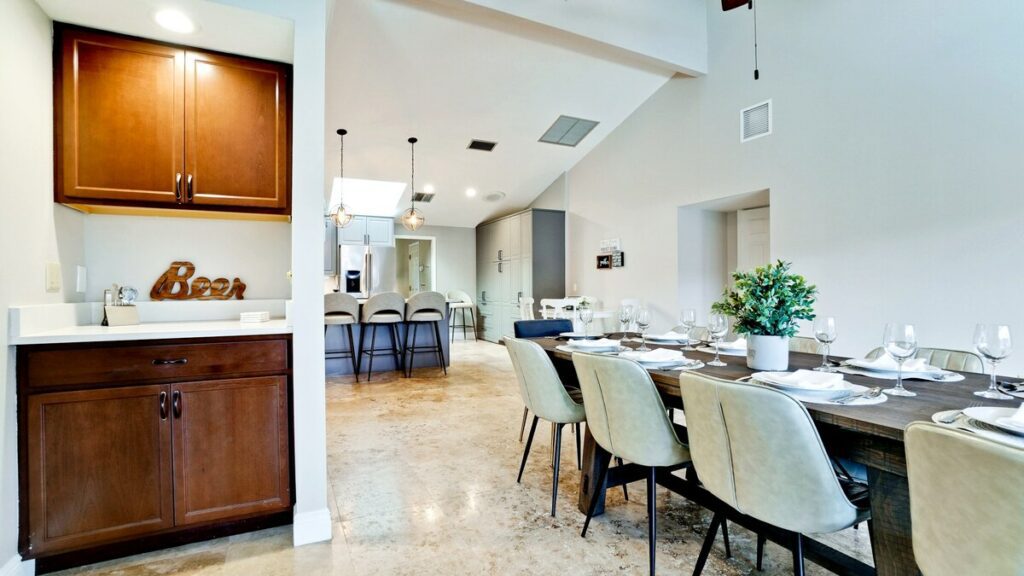
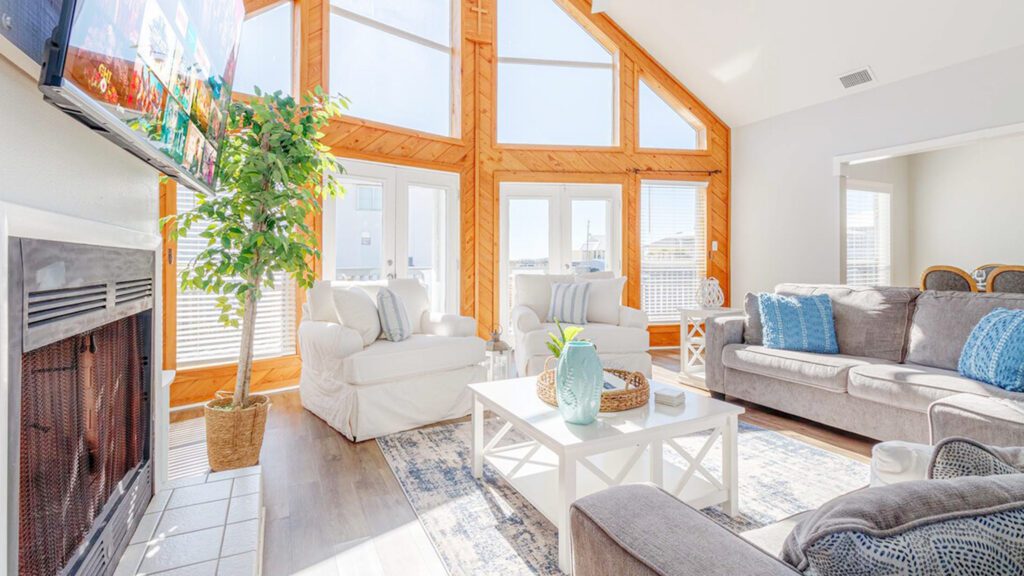
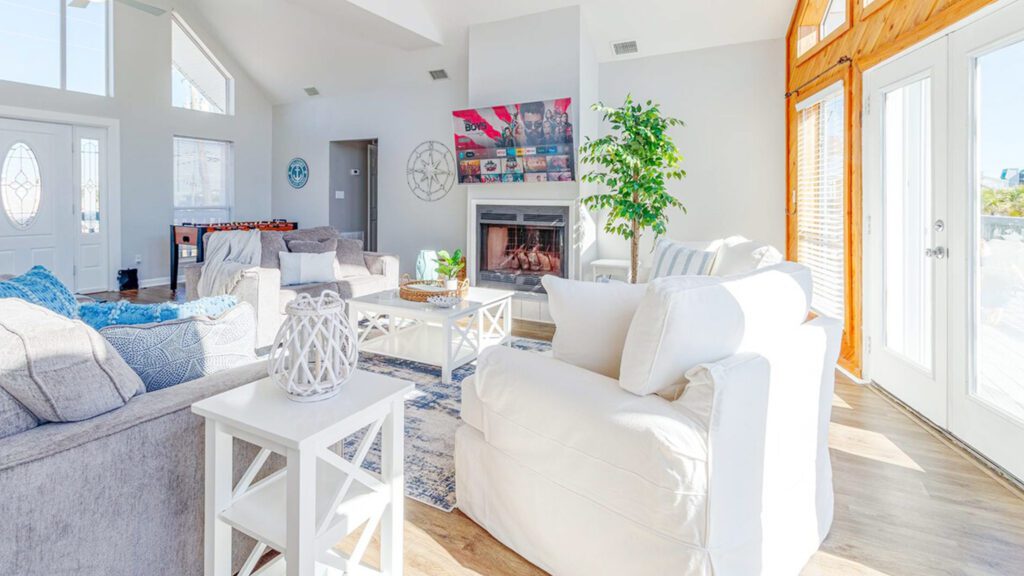
You can start with an overall view of this room and its amenities, but make sure to follow it up with several other shots from several different angles, showcasing how it’s connected to the rest of the house i.e. the kitchen, the dining room, the back deck, etc.
This will make it crystal clear how each room is linked to the others.
For such reasons, most Airbnb photographers would recommend “shooting into a corner”, that way you could encompass a wider scope of the space in your photo.
Don’t neglect the outside of the house.
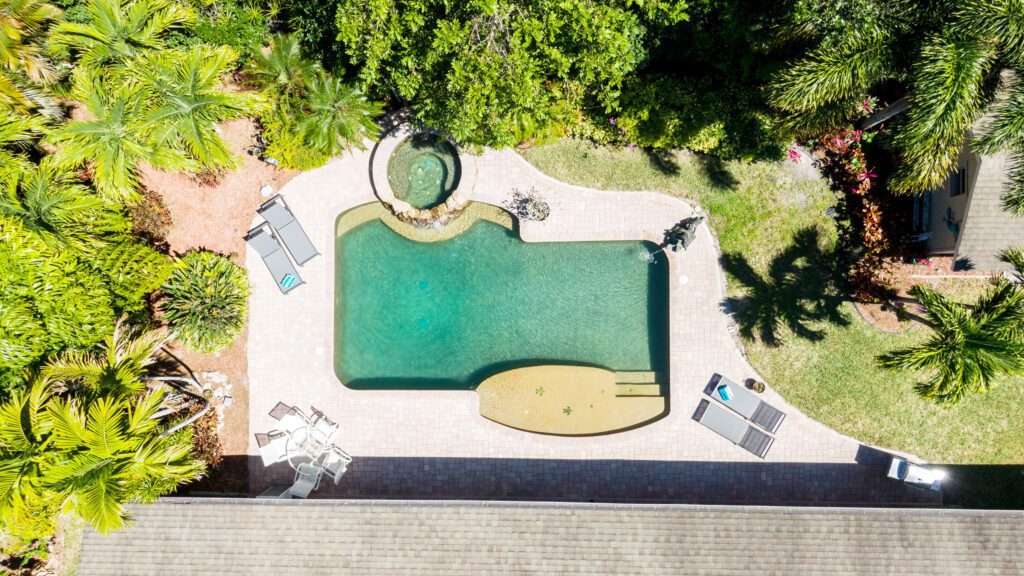
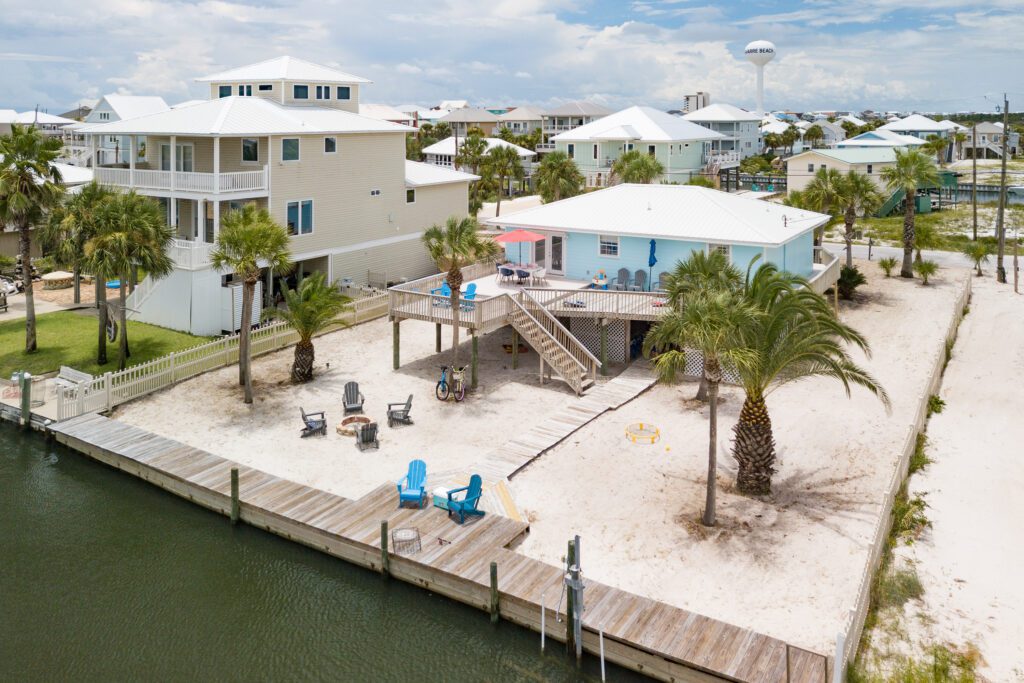
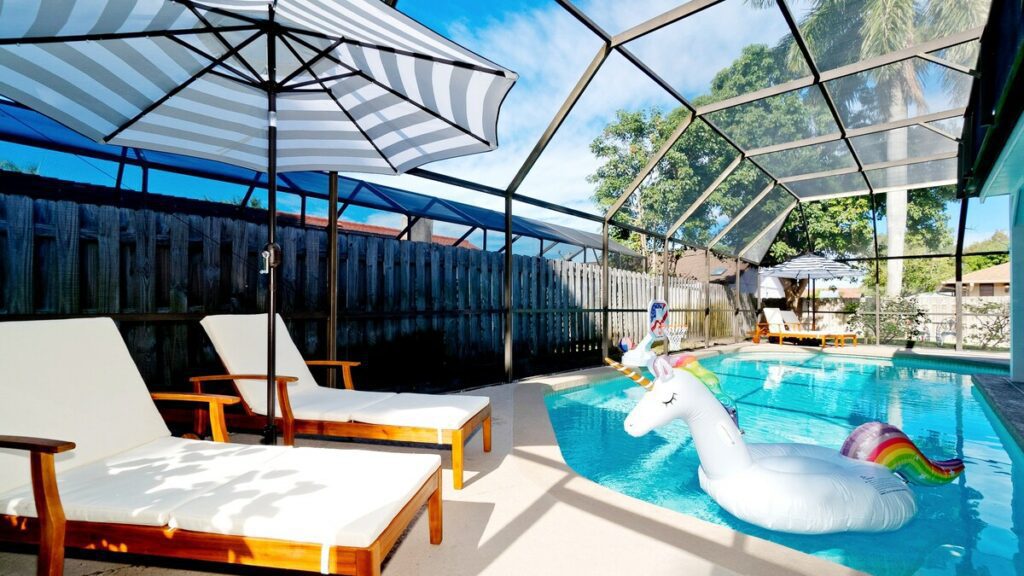
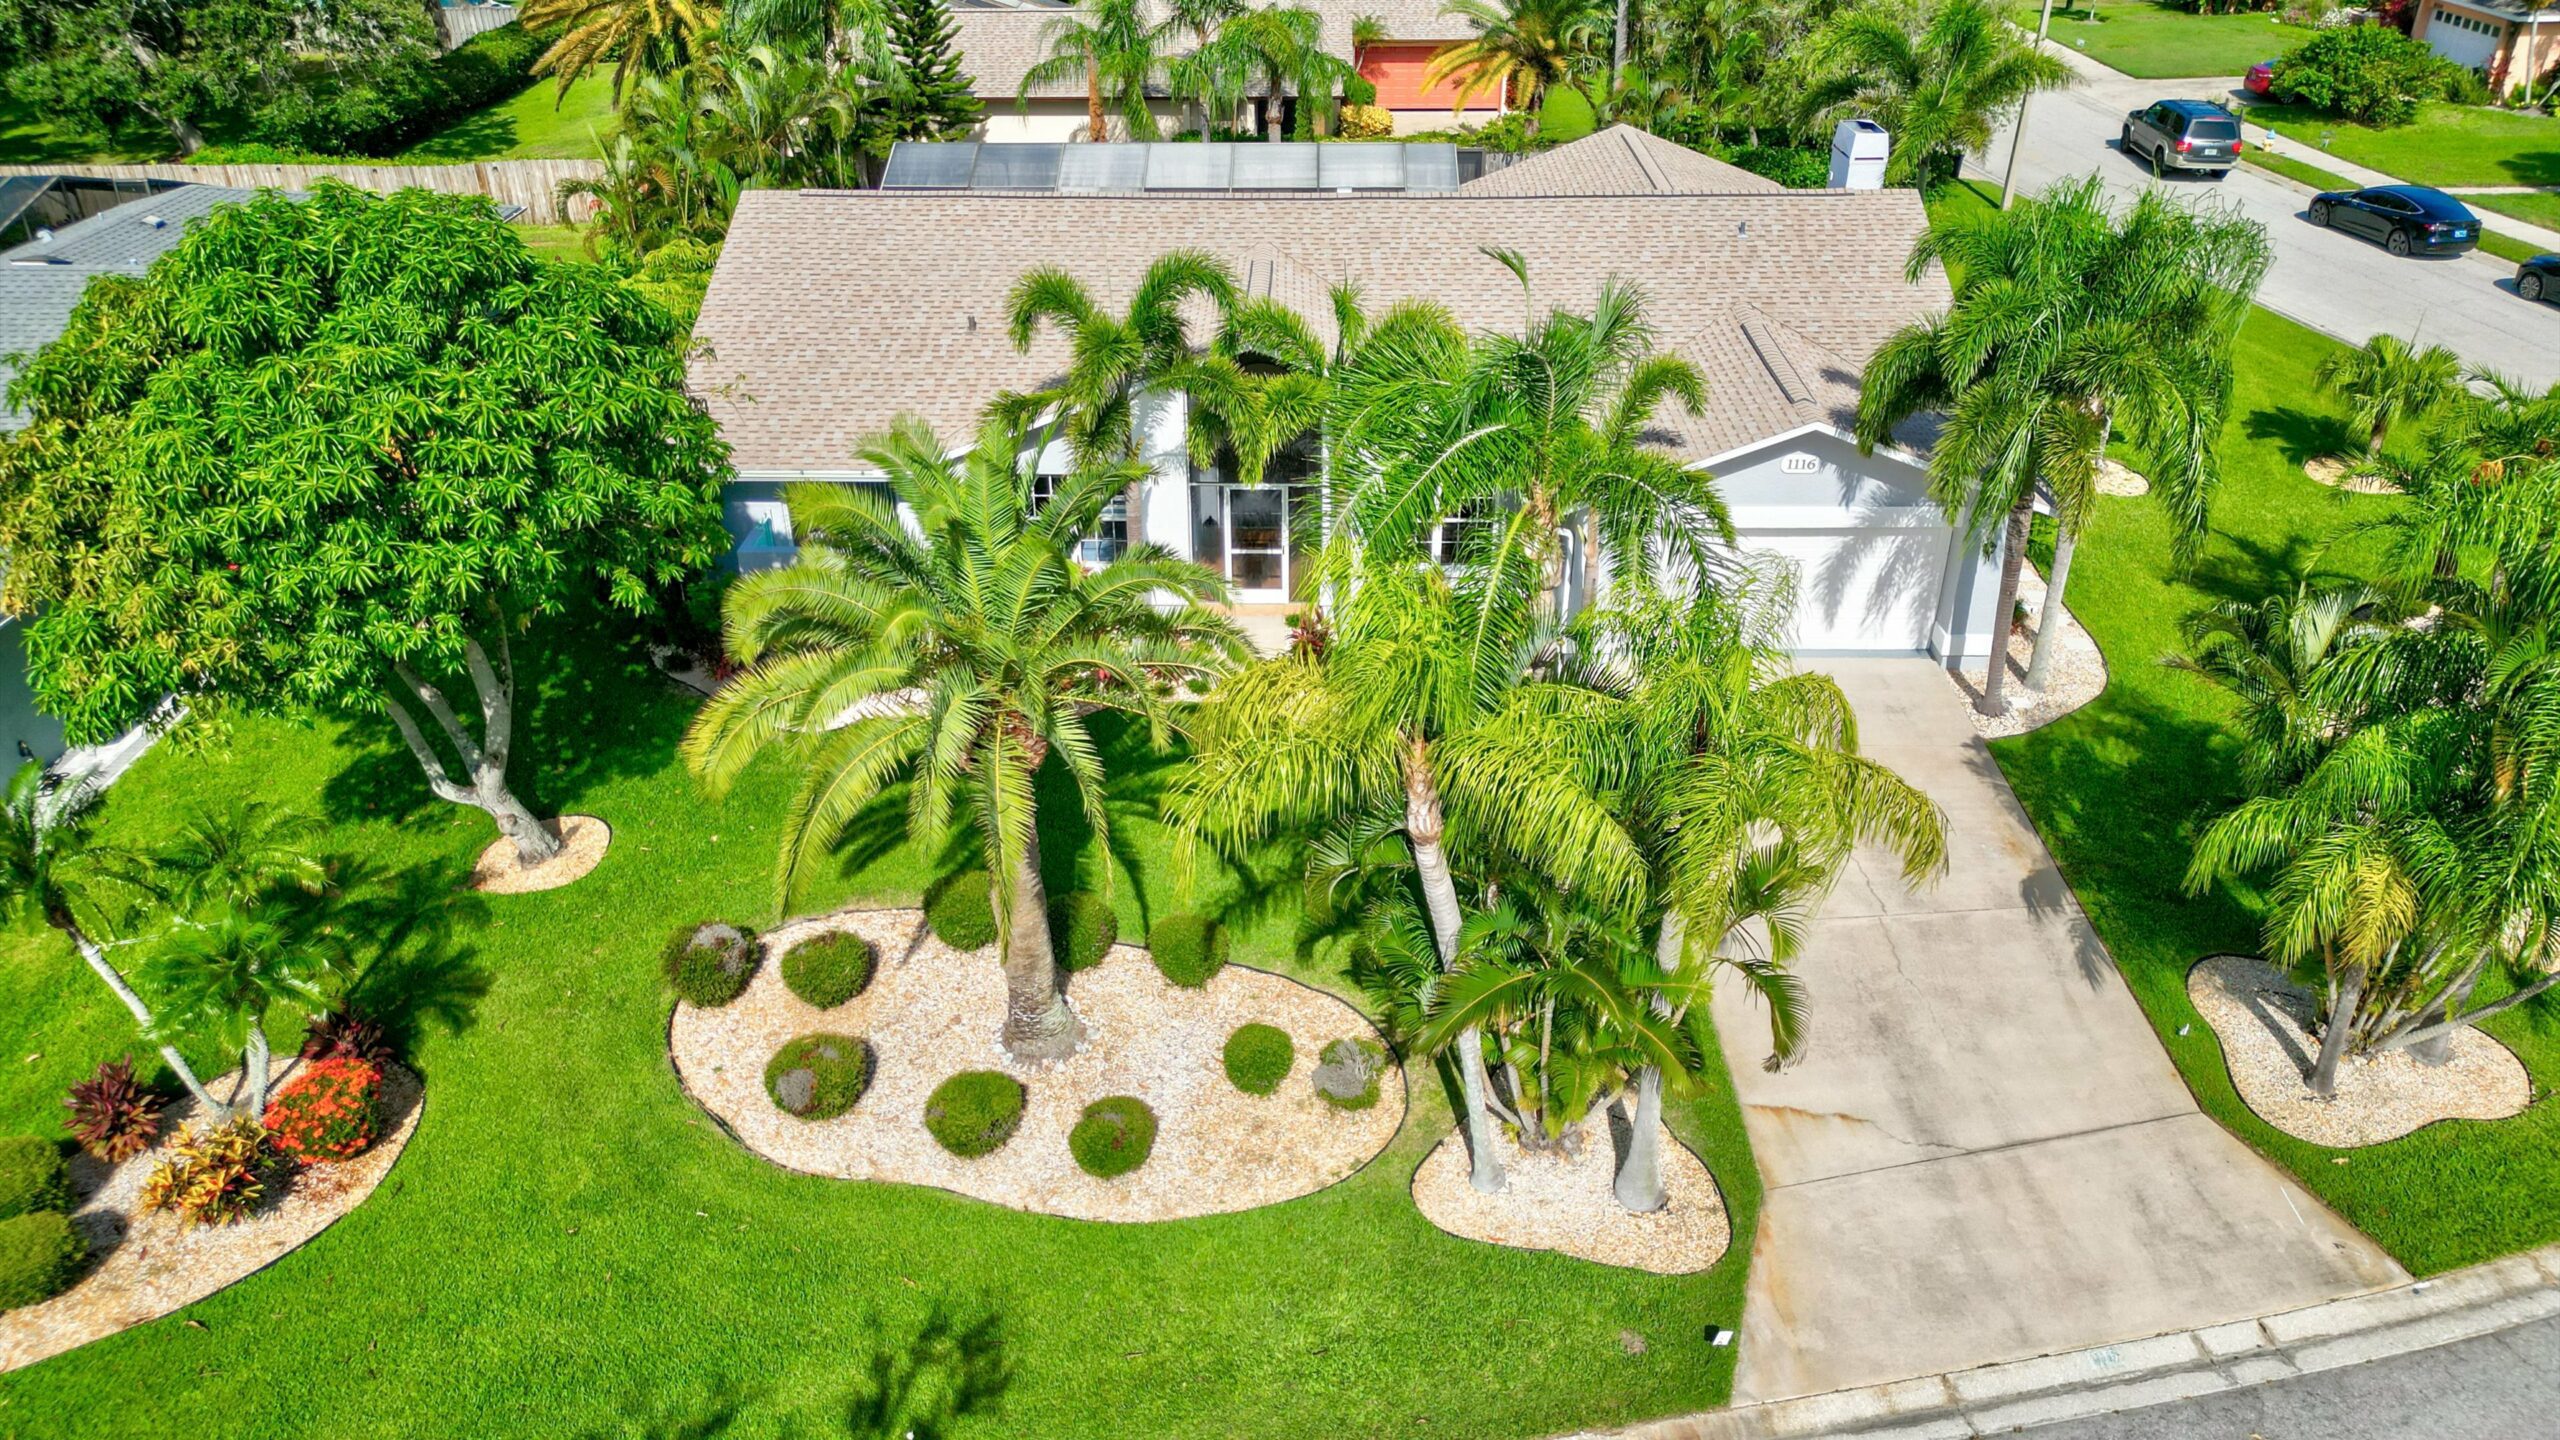
By saying this, we are mostly referring to the house’s immediate exterior, i.e. the front yard, backyard, pool, barbeque area, etc.
The inside of your home can be furnished with the best premium amenities, but if the outside doesn’t match it or isn’t displayed in an attractive manner through Airbnb’s photos, that could hinder your home’s appeal in potential guests’ eyes.
The property’s exterior is just as important as the interior, if not more.
After all, it will be what your guests will spot first when arriving at your home.
Its appearance will reflect greatly on how you, as a host, best manage and take care of your listing.
Also, avoid providing misleading information through your listing’s layout.
Be clear from the get-go.
When dealing with your home’s exterior, best keep your lawn trimmed and cleaned of any animal debris, your pool and its surrounding area clean and tidy, avoid any unnecessary decorations, and make sure all light sources are properly functional.
As long as hosts keep everything well maintained so as to not bother any guests staying there, there shouldn’t be any problems.
Highlight your differentiating attractions.
Differentiate yourself from your competitors by highlighting your house’s many attractions through its photos.
What better way to set yourself apart from the competition than by shedding a spotlight on the amenities and accommodations that make you stand out, be it a private pool, a hot tub/jacuzzi, a game room, etc.
You might even want to highlight a particular piece of art or sculpture that you’ve displayed in your home.
When organizing your listing’s photos after the photography session is over, make sure to pay extra attention to the first five, as these will be first shown when potential guests access your listing’s overall profile.
The first photo will naturally be the feature photo, so either choose it to be your home’s most attractive room or that of a specific feature that sets your home apart from others.
The following four pictures need to be all-encompassing, as in providing information about different aspects of your home and its surroundings.
For instance, if you choose a picture of the private pool as your property’s feature photo, you could follow it up with an aerial view of the neighborhood, a picture of the living room, the back deck, the inviting sitting area – all attractive and well shot, of course.
Create a lifestyle with your photos.
It goes without saying that your incoming guests aren’t the same, each possessing a lifestyle of their own.
Given that they’re already accustomed to said lifestyle, when searching for a vacation rental, they may want to stick to said lifestyle or change it up a bit.
They might be looking or most attracted to a bright and open home by the ocean, a luxurious villa type of house, or a secluded cozy cabin in the middle of the woods.
Thus creating a lifestyle through your home’s photos can easily be done through the design that you’ve applied to your home, its furniture and layout displayed through each room’s photos, and not to forget the tone and colors each photo may carry.
Showcase your neighborhood.
Another factor that guests look for when scouring the internet for the perfect rental, is the neighborhood in which said rental is located.
Hence the vitality of showcasing all that your neighborhood and surroundings have to offer.
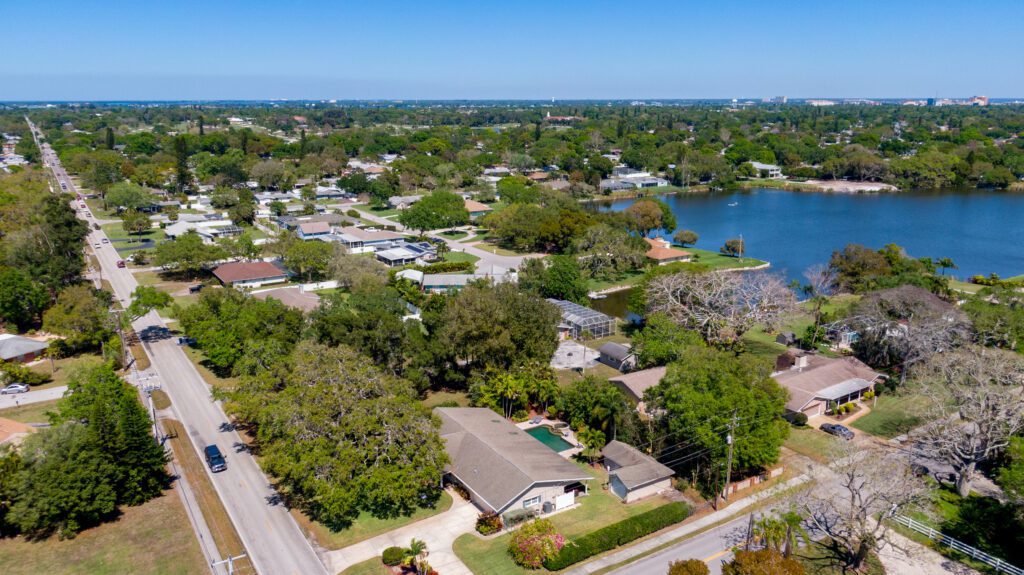
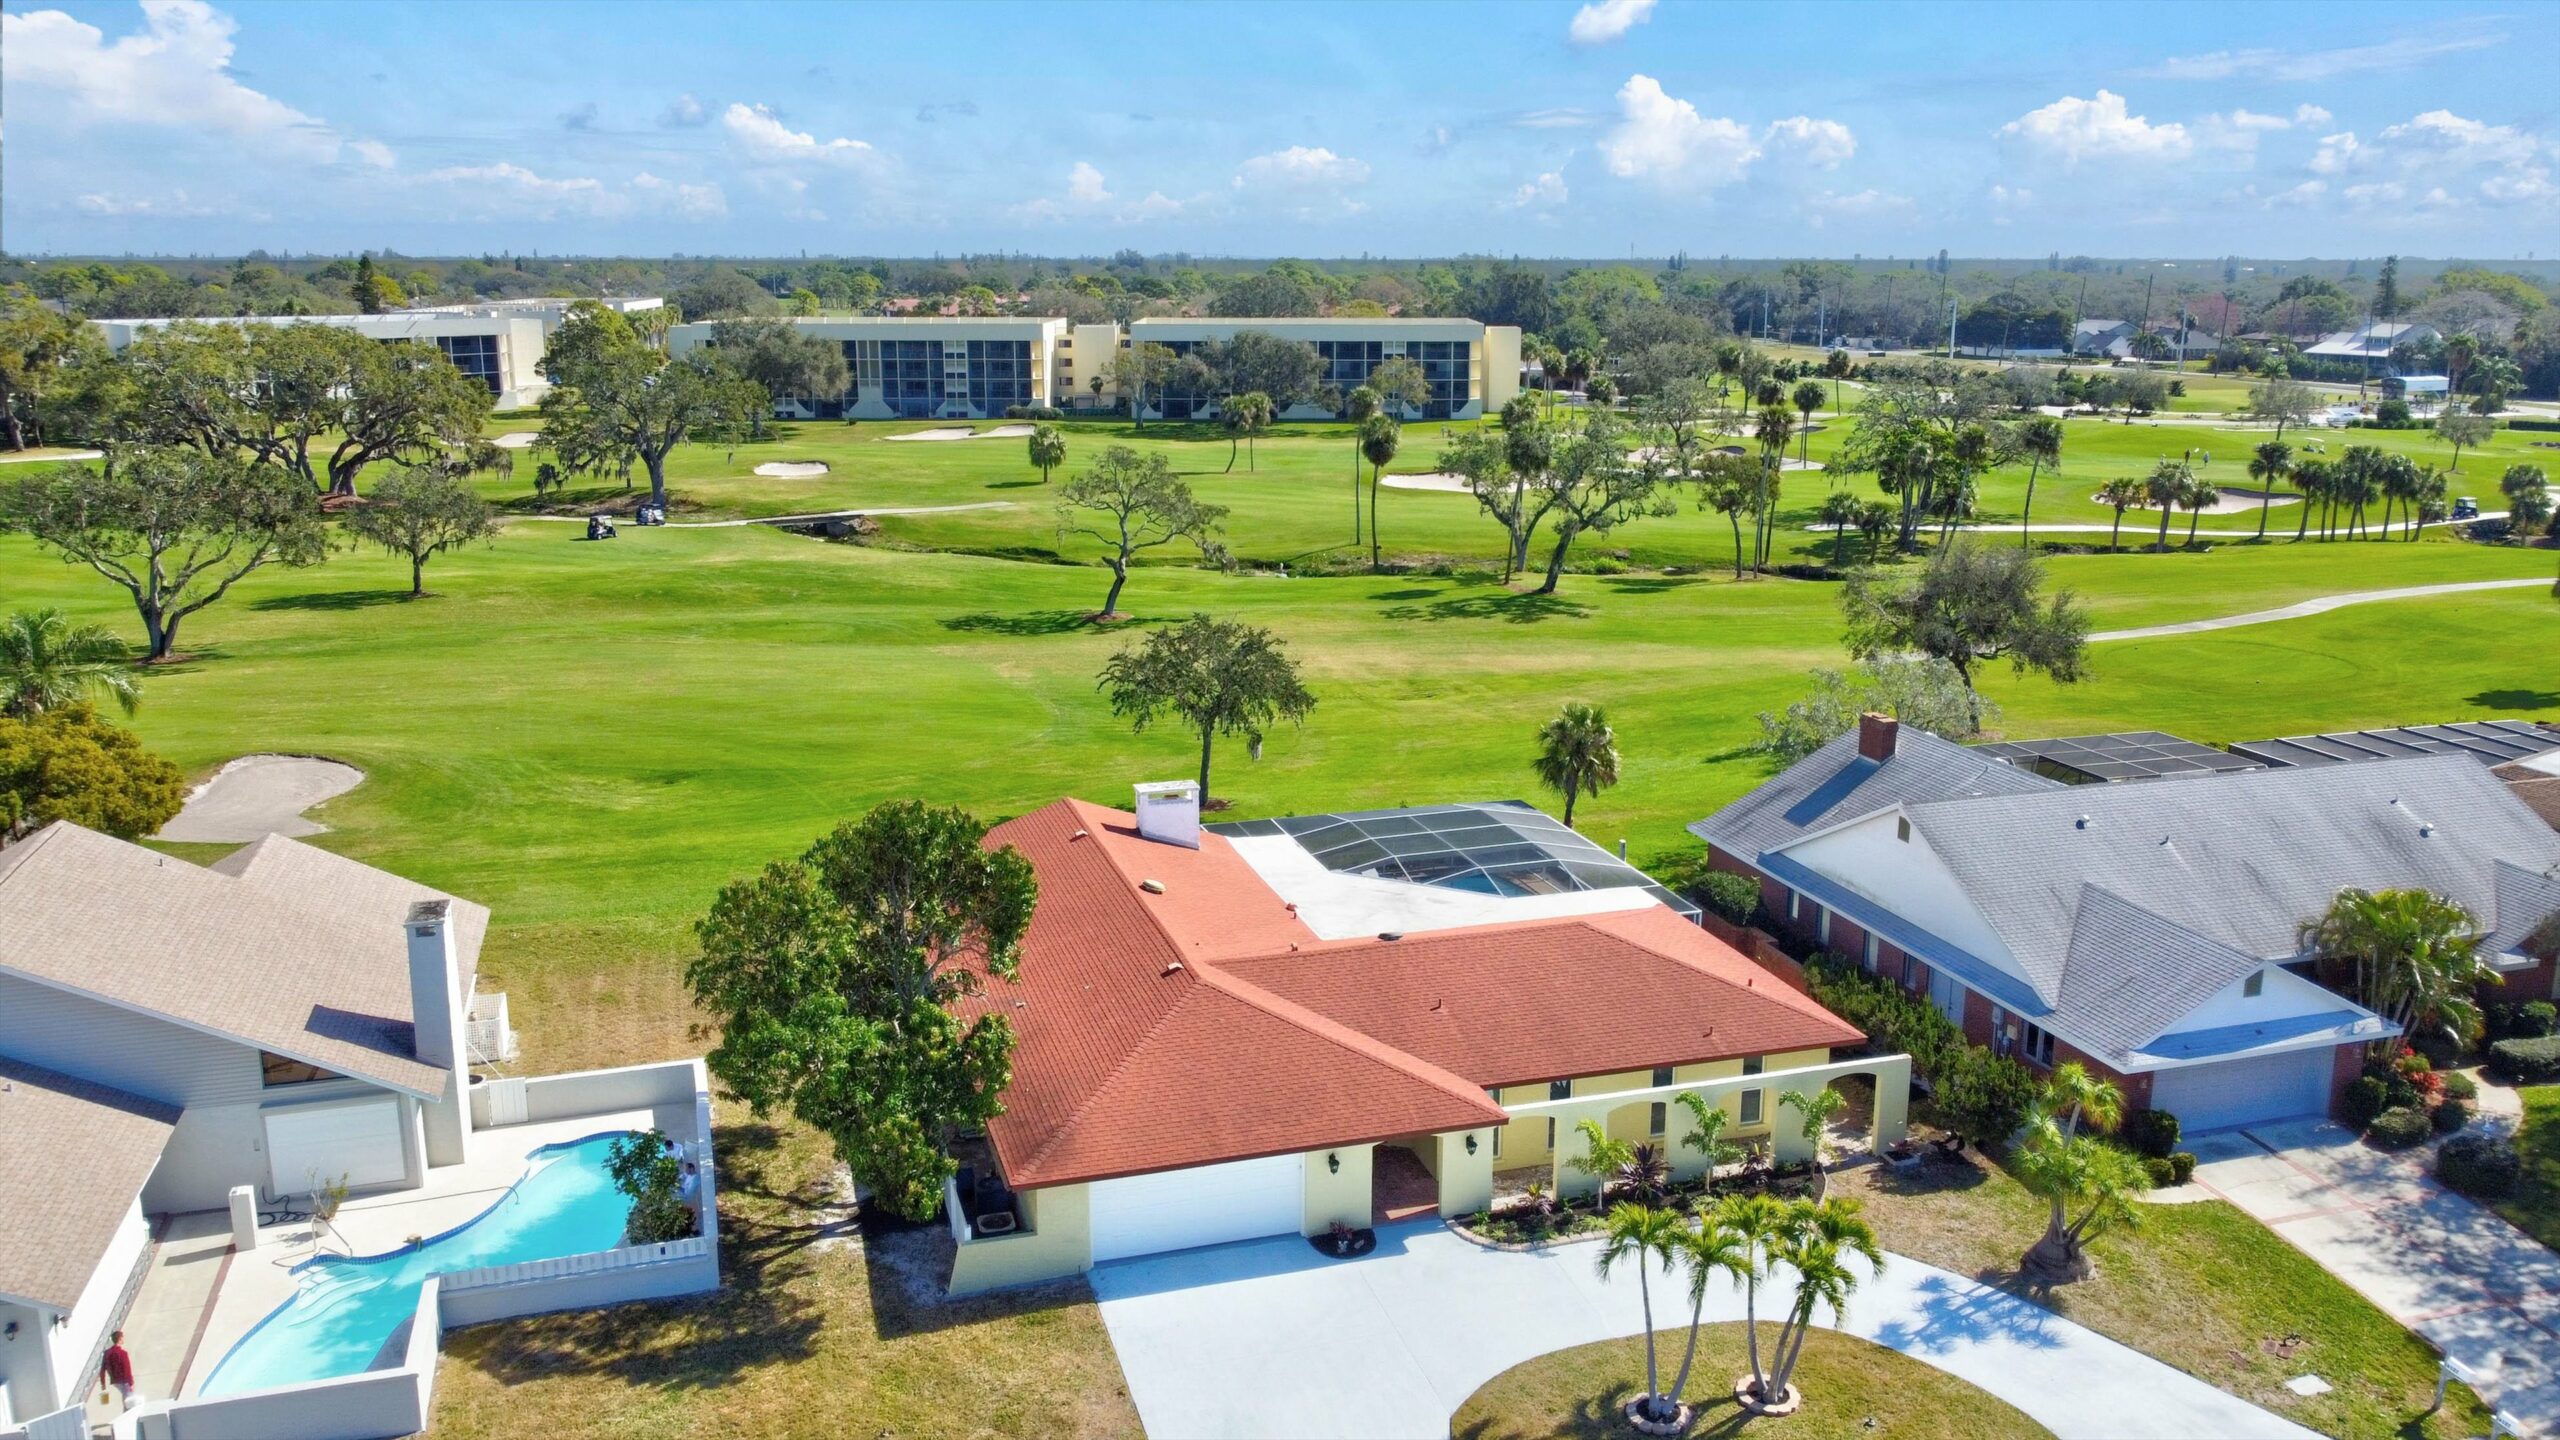
This could easily be done through the use of drones to better capture encompassing aerial views and bearing out the houses in the vicinity.
These aerial photos will especially come in handy if your listing is located in a closed community, sharing some amenities amongst the neighbors (i.e. pool, tennis court).
Another impressive use of aerial shots is to emphasize your home’s location, such as advertising that it’s beachfront, canal front, beach view, bay view, and so on.
And don’t forget to take some photos around town, for this will draw interest in any riveting attractions that your area has to offer.
Lighting, color, texture, and depth.
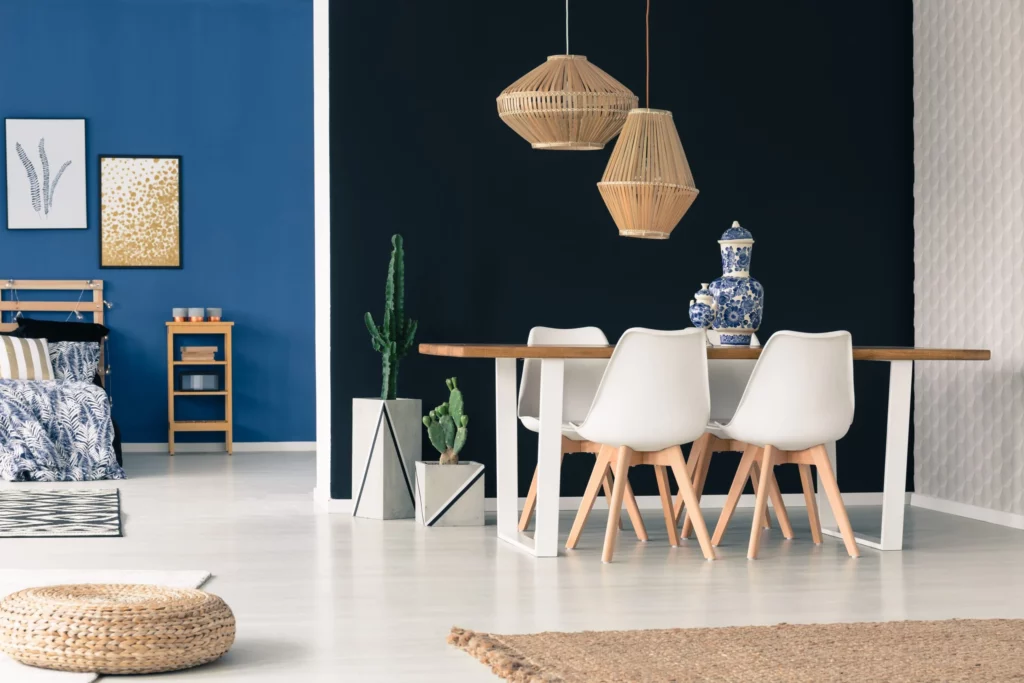
Regarding the photos’ lighting, it’s imperative to maximize the use of sunlight as much as possible, as it will automatically improve the photos’ depth, texture, and contrast.
And if you find sunlight not enough to properly highlight certain aspects of your Airbnb, hosts could always revert to fully lighting the home, even during the daytime.
This could aid in surpassing some dark corners that natural sunlight may cause in your Airbnb’s photos.
Also make sure to change viewpoints to better enhance each photo’s texture.
You might not want to shoot everything at eye level. Sometimes crouching down and getting a higher vantage point will better refine both your photo’s texture and depth.
Increasing your photos’ depth can also be achieved through perspective (aerial or otherwise), utilizing selective focus, and heeding the use of leading lines.
The aforementioned will help you add depth and dimension to your photos.
When the photos are fully developed and posted, what will make the guests’ eyes immediately gravitate toward them is mostly their clarity, colors, brightness, texture, and contrast.
To better achieve each aspect of these matters, if you find the finished results from the camera lacking, you could always go back and tweak them out a bit through Photoshop.
Adhere to the golden ratio if possible.
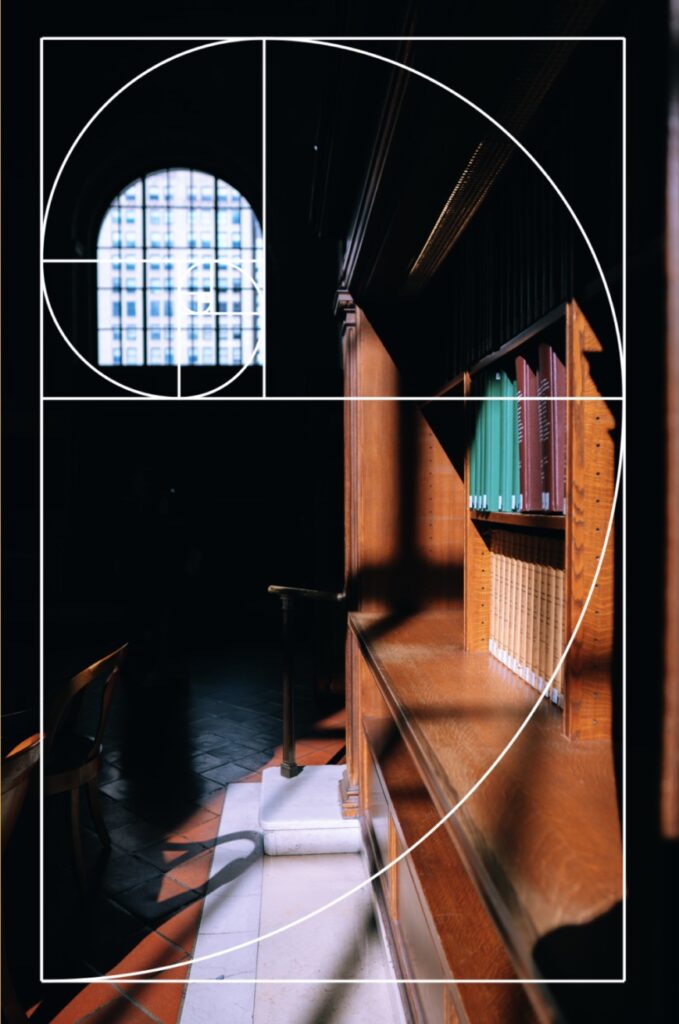
The golden ratio in photography is well known amongst artists and photographers to be 1.618 to 1.
While this tool is sometimes overlooked when taking Airbnb or rental photos, it plays quite an important role in maintaining a photo’s cohesiveness and harmony when handling its composition.
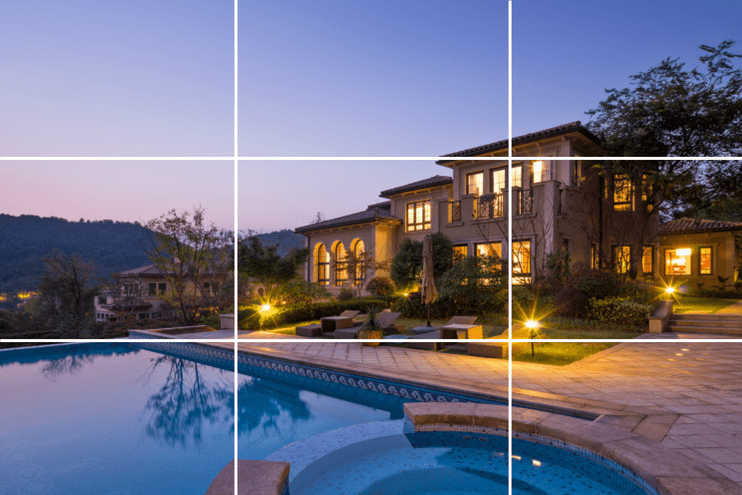
When you add the golden ratio to the rule of thirds and the leading lines in photography, hosts are sure to get the optimal results with their Airbnb photos, capturing the eye of all guests when they’re perusing through their search results.
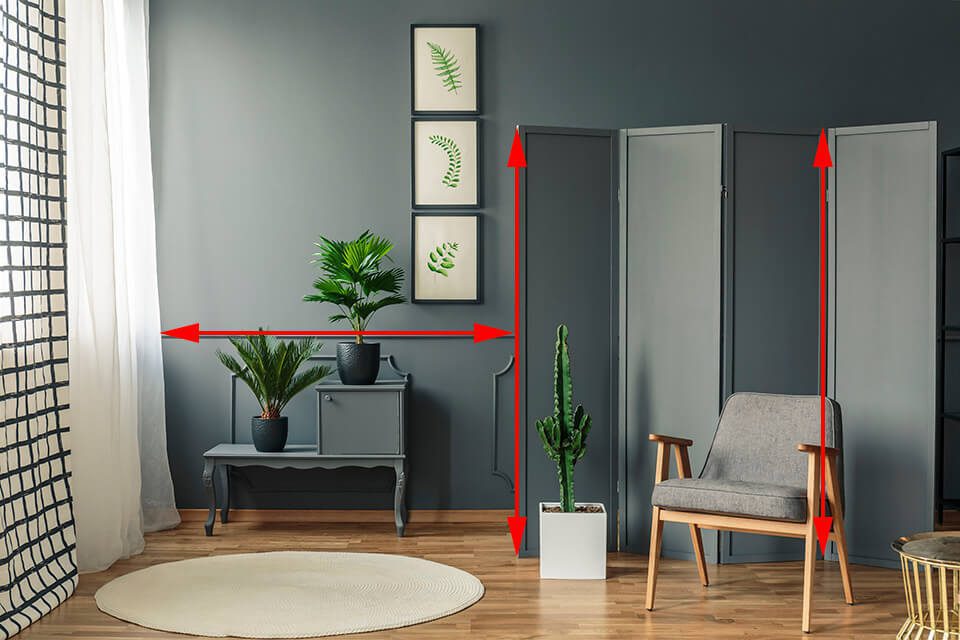
This ratio, however, is not particularly an easy tool to grasp – Airbnb hosts might find it a bit hard to wrap their heads around its form of usage in photography.
But with the right application, trust us when we say that your photos’ quality will grow considerably.
Categorize your photos.
Once the results of the photography session are developed, uploading your photos to Airbnb is quite easy.
Yet organizing and categorizing them will go a long way, as it is a vital step in image analysis.

Now, how to categorize these photos and which pattern to follow is solely determined by you, the host.
There are several paths hosts could follow when making this decision, such as choosing to adhere to a gradual color pattern when organizing your photos, or following a specific setup that will act as a guide for anyone looking at said photos.
Aside from Airbnb, from our personal experience with segmenting and arranging our listing’s photos on OwnerRez, we’ve concluded that the best and clearest approach to showcasing one’s Airbnb rental is through mapping it out through its photos, and captioning said photos.
And what’s best is that OwnerRez features a way to simplify said mapping.
Hosts could easily divide their home’s photos in accordance with which room they’re referring to.
So instead of just throwing photos on each platform and wasting time trying to figure out how to best organize them, hosts could simply divide them as per each room or outside area.
This will greatly clarify your listing and stop inquiring guests from asking questions that might indicate that your Airbnb’s showcase isn’t clear.
If after reading this guide, you find yourself reeling from the amount of information and needing further assistance and guidance, our team at Tstays will be more than happy to lend a helping hand, as we’ve been through all these steps before, and could provide some valuable first-hand insight.
We could also help with the process of managing your property!
Disclaimer
This guide, including any claims or statements within, is not endorsed by, directly affiliated with, authorized, or sponsored by Airbnb or any of the aforementioned platforms in any way.

